The Quiz and Survey Master URL Parameters addon allows you to send data to be attached to the results from other sources.
What are Query Variables?
The parameter in the URL will be passed as a query variable. If you are not familiar with query variables, these are the small bits of text found at the end of URLs after a “?” character. Here’s an example:
https://quizandsurveymaster.com/some-post?author=3
In this example, “author” is the parameter. The value being passed is “3”. If you had multiple parameters or the page already has some query variables, you would separate them with a “&” character. For example:
https://quizandsurveymaster.com/some-post?age=27&event=Party
Example Use Case
Let’s say you are sending an email with a link from an email service such as MailChimp or Drip. These allow you to add dynamic text in the emails. So, we can add those to the end of our URL.
For example, if our survey URL was:
https://quizandsurveymaster.com/event-survey
We may want to get the subscriber ID to be attached to the results for tracking purposes. So, we could have a parameter of “subscriber” such as:
https://quizandsurveymaster.com/event-survey?subscriber=34
Now, the results will show the subscriber was 34. Luckily, in Drip, they automatically append the subscriber ID as a parameter. However, if you are using a different service, you may need to use their templating which may look like this:
https://quizandsurveymaster.com/event-survey?subscriber={{ subscriber.id }}
Using that link, you would be able to send the subscriber ID from your system to be attached to the result of the survey.
INSTALLATION/SETUP
Once you have purchased the addon, you will have access to download the addon. To install, upload the addon as a normal WordPress plugin. To do so, go to the Plugins page and click Add New. Then, click Upload.
From there, upload the zip file that you downloaded when downloading the addon. Once the addon has uploaded, you should now have the plugin QSM – URL Parameters listed in your list of plugins. Activate that plugin. Once activated, the addon will add a new tab in the Addon Settings labeled “URL Parameters”.
SETTINGS/CONFIGURE
Before you can use the URL Parameters addon, we must first enter in the license key.
Adding Your License Key

Enter your license key from your account into the “Addon License Key” field on the “URL Parameters” tab of the “Addon Settings”.Once you have entered your license key, be sure to click “Save Changes” to save the page.
After adding the License Key, you can now use the “URL Parameters” tab when editing your quizzes or surveys.
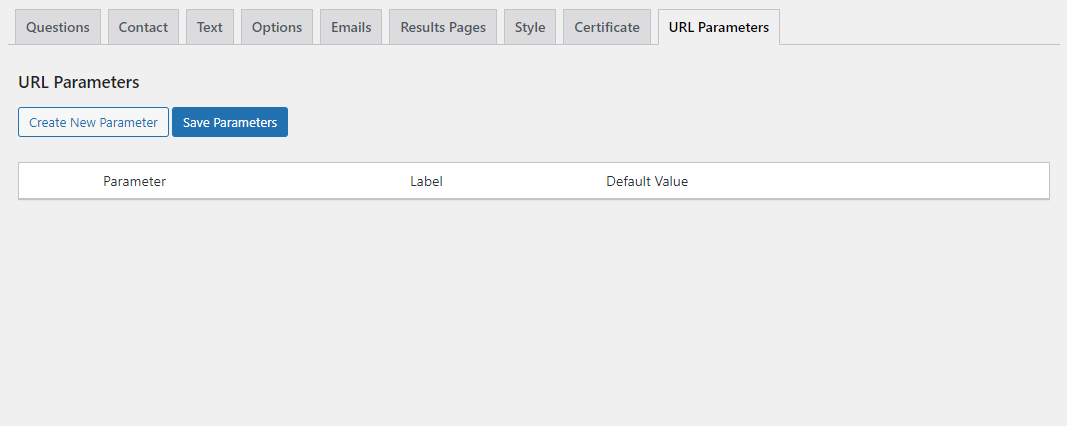
You can have as many parameters as you need on each of your quizzes and surveys.
To get started, click the “Create New Parameter” button.
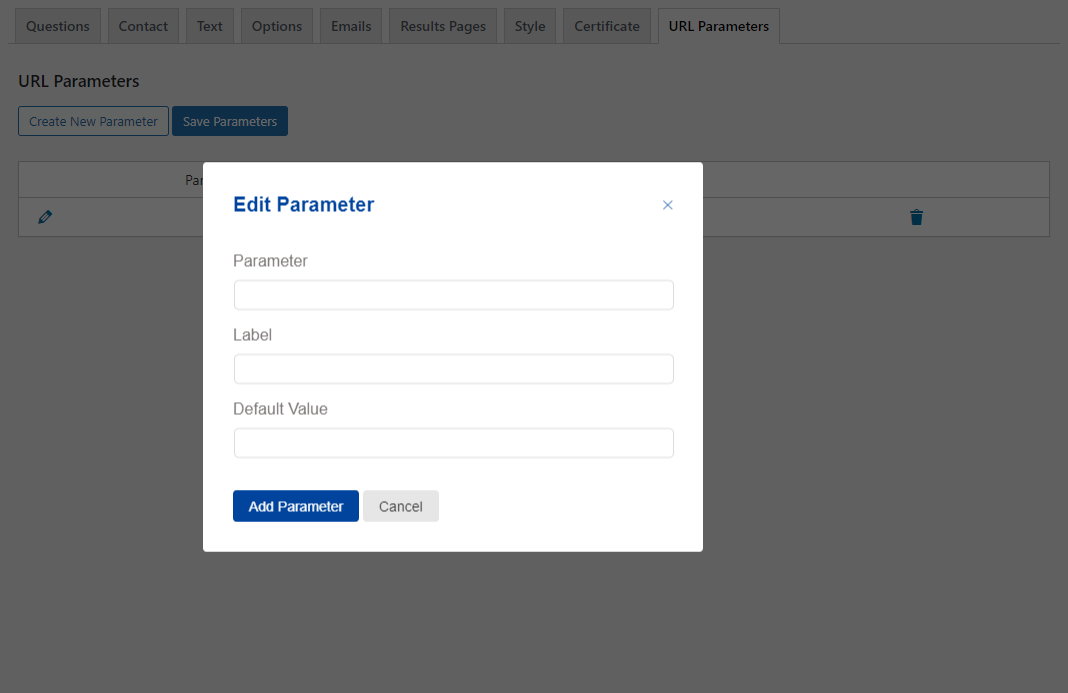
Each parameter will have 3 options you need to set:
- Parameter – This is the exact value that will be used in the URL.
- Label – This is what is shown to you when you review the results to designate what this is
- Default Value – If the parameter is not present in the URL, this value is what is attached to the result.
Here is an example set up:
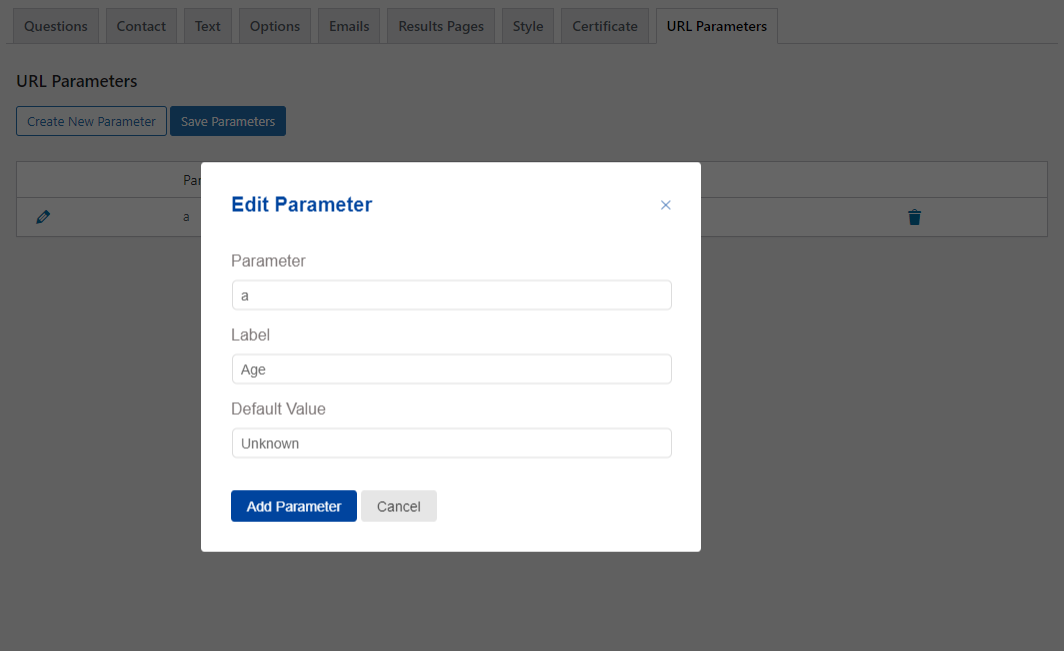
Now that the popup is filled in, we need to click “Add Parameter”.

Once you are finished, you will need to click “Save Parameters” to save your changes.
We can now use the “a” parameter to send data to our survey. For example:
http://example.com/example-survey?a=55
This will attach the value of “55” to our “Age” parameter. This can be seen when viewing the results in the Admin:
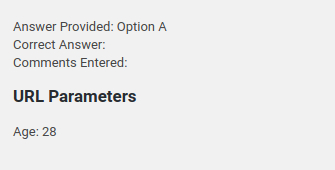
This will appear at the very bottom when viewing the results.
You are now set up and ready to go!
Use Parameters with Redirect URL
If you enable this feature, you can easily transfer the added parameters to the redirected URL in the result page.
To activate this feature, firstly navigate to the “result page” tab, enter the redirect URL in the box provided below the “redirect the user by entering URL” text. Save the Result Page.
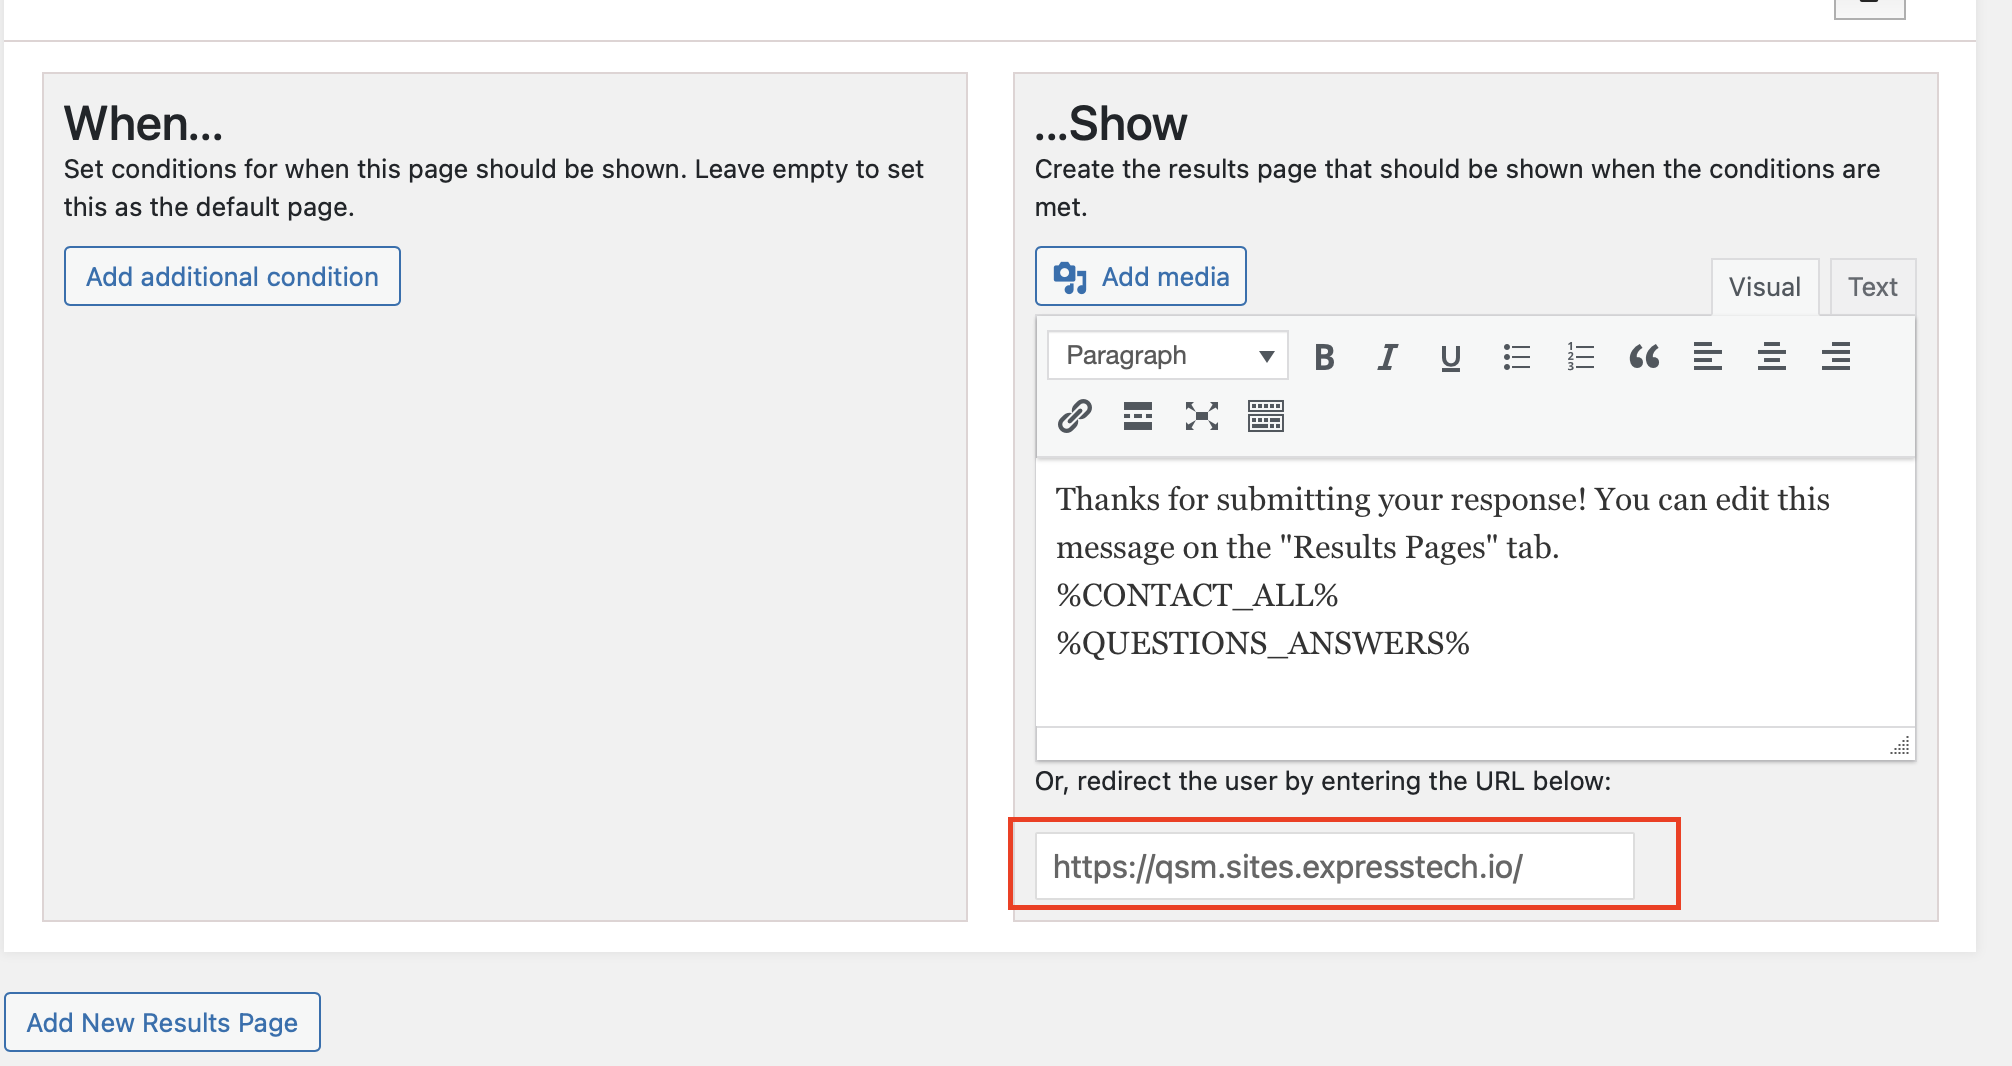
Then go to the Add-ons option > select URL Parameters, click on the “use parameters with result redirect URL” checkbox. The parameters will automatically be included in the redirect URL.

If you have any trouble implementing the URL Parameters Addon or have more questions about the process, please fill out a support ticket by going to the WordPress dashboard and selecting ‘help’ in the QSM plugin and our support guru will be able to help you.


