Grow your list of subscribers in Aweber by using our Aweber Integration Addon to add users who take your quizzes!
INSTALLATION/SETUP
Once you have purchased the addon, you will have access to download the addon. To install, simply upload the addon as a normal WordPress plugin. To do so, go to the Plugins page and click Add New. Then, click Upload. From there, upload the zip file that you downloaded when downloading the addon. Once the addon has uploaded, you should now have the plugin QSM – Aweber Integration listed in your list of plugins. Activate that plugin. Once activated, the addon will add a new tab in the Addon Settings.
SETTINGS/CONFIGURE

Now that the addon is installed, go to the “Addon Settings” page in the “Quizzes/Surveys” menu. Go to the “Aweber Integration” tab. Click on the link to authorize Aweber.

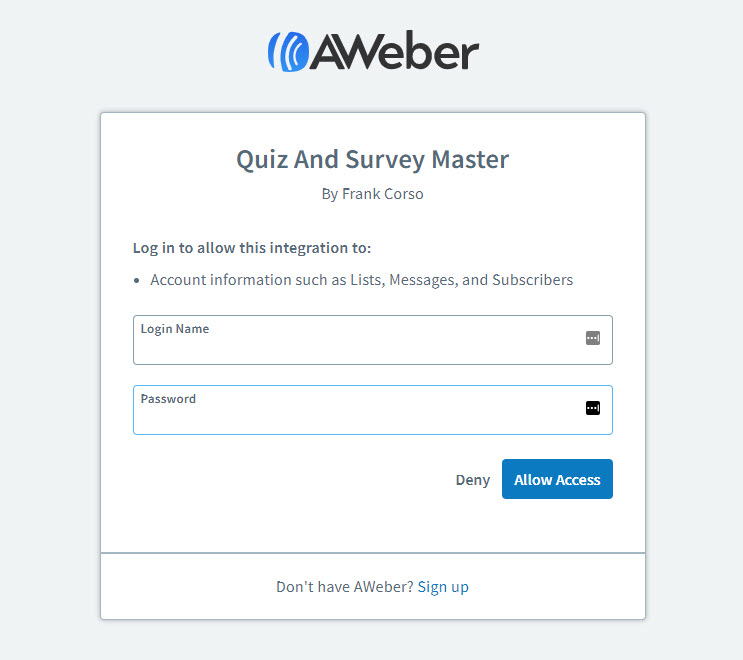
Log into your Aweber account to authorize this addon to access your list and subscribe users to that list.

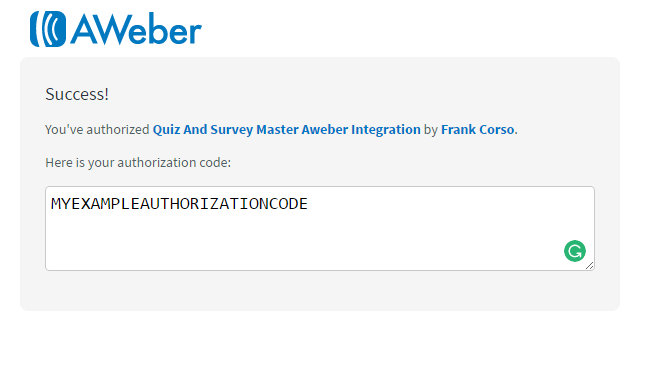
After logging in, Aweber will show you a page like in the image above that contains your authorization code. Copy that code.

Paste the code in the Addon Settings in the field labeled “Authorization Code”. While you are here, enter your license key for the addon from your account. Then, click “Save Changes”.

Once the settings are saved, you will see a success message. Your addon has been authorized.
Now, you can enable Aweber on your quiz using the new “Aweber Integration” tab when editing your quiz.

If you want the quiz or survey to subscribe users to your lists in Aweber, set the “Enable Aweber Integration for this quiz/survey?” to “Yes”.
If you want users to have to select a checkbox to be subscribed, set the “Do you want the checkbox to appear” option to “Yes”. If you have this set to “No”, the user will automatically be subscribed. Please note that your Aweber settings determine if the opt-in confirmation email is sent out regardless of this checkbox setting.
If you are using the checkbox, customize what text is shown next to it using the “Text for the checkbox is set to appear” option.
Set the “What list should the user be subscribed to” option to the list you would like the user to be subscribed to once they submit the quiz or survey.
With the Save Quiz Results checkbox, you can Save Quiz Score to your Aweber account and associate the score to the subscriber data. The Quiz Score will be sent to Aweber as a Custom Field: QSM_SCORE. It can found in Subscribers > Subscriber’s Information > QSM_SCORE
Note: If this option is enabled, the quiz taker’s score will be forwarded to Aweber only if they subscribe.


