Almost every quiz or survey will have questions for the user to answer. QSM allows you to create an unlimited number of questions for your quiz or survey using a variety of question types.
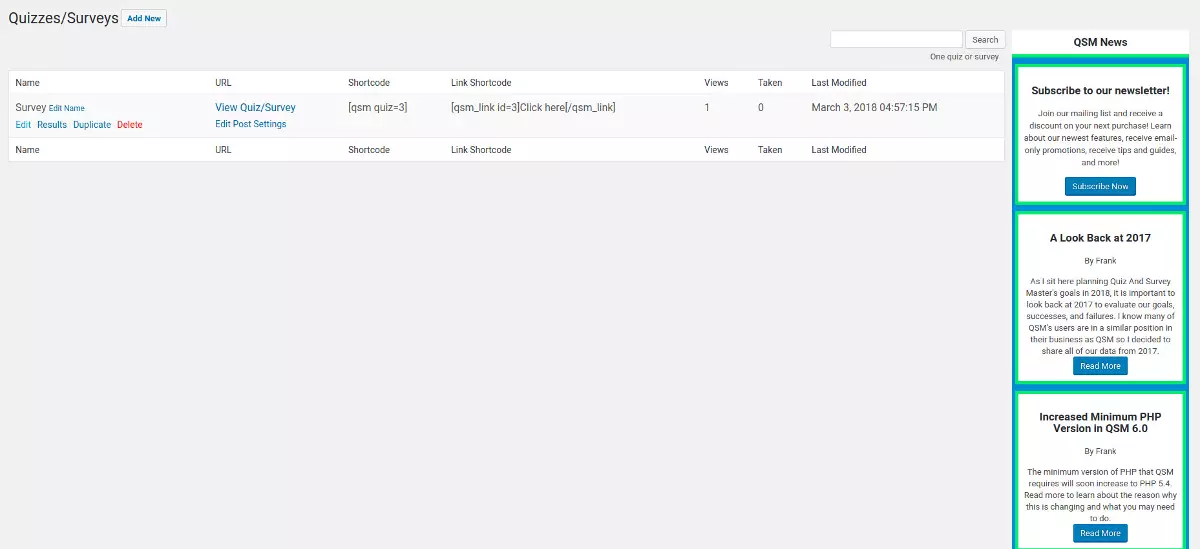
To get started, go to the “Quizzes/Surveys” page and click “Edit” on the quiz or survey that you want to add questions to.

Clicking the “Edit” link takes you to the “Questions” tab. This tab is where you will create and edit all of the pages and questions in your quiz or survey.

When you view this tab for the first time, it will look very empty. For QSM, you can have as many pages in your quiz or survey as you need. If you want all questions to be on the same page, then you can create just one page. Let’s go ahead and create our first page. To do so, click “Create New Page”.

Now that we have a page, there are a few things we can do. First, we can create a new question on the page by clicking “Create New Question” on the page. We can also add a question from an existing question by clicking the “Add Question From Question Bank” which we will do further down in this documentation. For now, let’s create our first question. To do so, click “Create New Question”.

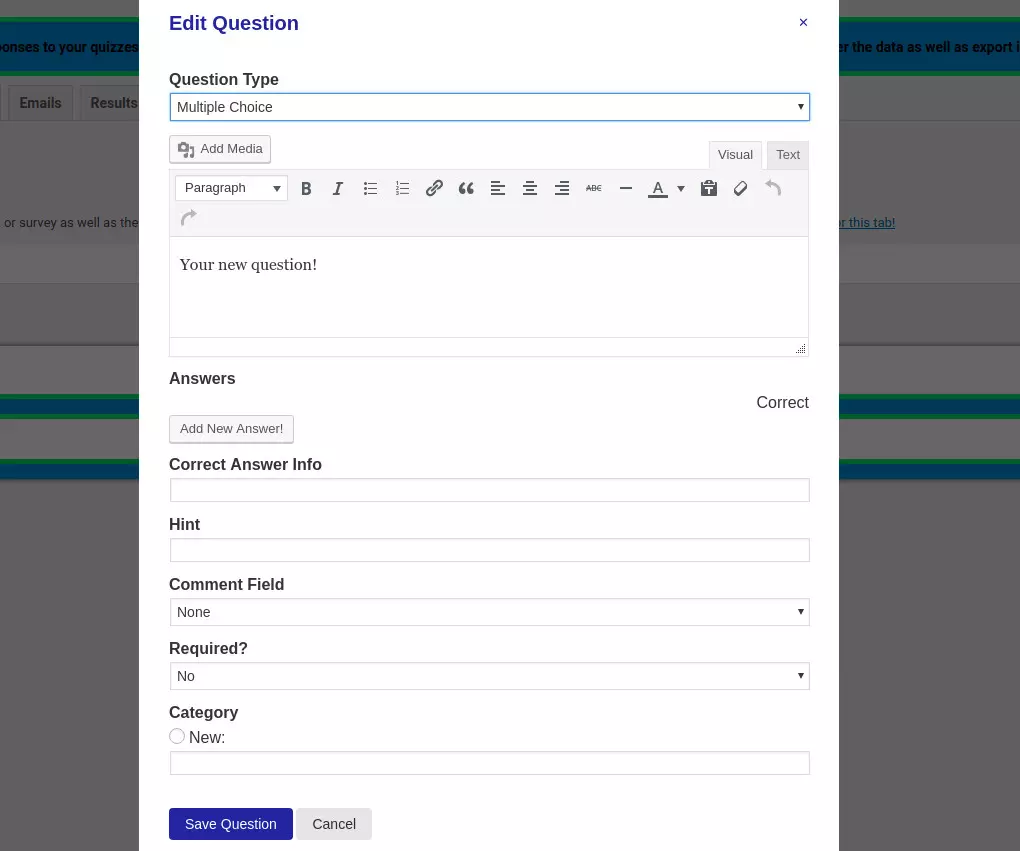
When we click the button, a window will open with a few different fields for us to fill in.
First, the “Question Type” is very important. This option tells the plugin what type of question you would like this to be. You can choose from many types such as open answer (text) or multiple choice and many more. More types are being added all the time, so be sure to keep your plugin updated.
The large text box is for your question. This field can take any text as well as HTML. You can even embed Youtube videos or add any type of image that would be useful for your question! To add media to your question, click the “Add Media” button.
Below that, you will see the answer section. First, click on “Add New Answer”. This button will make an answer field appear. To the left side of the Answer is the “Delete” button. This will allow you to remove a particular answer. The text box to the right of the answer is for the number of points the answer is worth if you are using the point system. Finally, the checkbox is to mark it as a correct answer if it is one.
If you need more answers, click the “Add New Answer” button. Each question can have an unlimited number of answers; however, most questions should probably stay in between 5 and 10 to keep it simplistic for your users.

The “Correct Answer Info” allows you to display information to the user about the answer. Say you had a question such as 4*3 and the answers were 12, 43, and 2. When the user completes the quiz, the plugin will show the user the results. You can enter text in this box to say “4*3=12 because 4+4+4=12” so the user knows why 12 was the correct answer. Note: to have this text displayed, you will need to add the correct answer info variable to the “%QUESTIONS_ANSWERS% Text” option on the “Text” tab.
The next field is the “Hint” field. Text entered in here will make a hint link appear below the question. When the user hovers over the link, the hint will show.
The “Comment Field” option allows you to have a text box directly below the question for a place where a user can enter comments about the question. Leave this option on none to not have a text box appear.
The “Required?” option makes it either required or not required to answer this particular question. This is useful for surveys when the user might not have to answer every question.
The last option, “Category” allows you to add a category to your question. If a category has already been created, the category name will appear next to the category option. If you need to create a new category, bubble in the button that says “New:” and type out your new category.
Once you have your question’s data filled in, click the “Save Question” button.

Awesome! You have created your first page and question. From here, you can use the same process to create the rest of your pages and questions.
Once you are finished making changes, be sure to click the “Save Questions” buttons to save your changes.
Editing, Duplicating, and Deleting Questions
To edit your questions, click the pencil icon on the left of the question.
If you need to delete any question, you can click the icon on the far right of the question.
If you need to delete any page, you can click the icon on the far right of the top of the page.
If you need to duplicate a question, you can click the 3rd icon on the question which will duplicate the question within the same page for you.
Adding Questions From the Question Bank
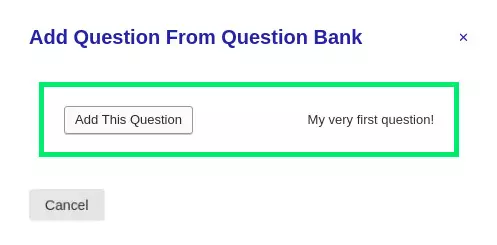
All of the questions you create for all of your surveys and quizzes are stored within a master “bank”. You can add questions that you have created for other surveys and quizzes by clicking the “Add Question From Question Bank” button.

This will open a window that shows the questions currently in the bank. Scroll down to find the question you wish to add and then click the “Add This Question” button to add that question to your current quiz or survey.
Reordering Pages And Questions
All the questions and pages in your quiz or survey can be reordered. Click and hold down your mouse pointer on the icon on the far left of the question. You can reorder the questions on a page and even move questions to other pages!
You can click and hold down your mouse pointer on the icon on the far left of the top of the page to reorder your pages too.


