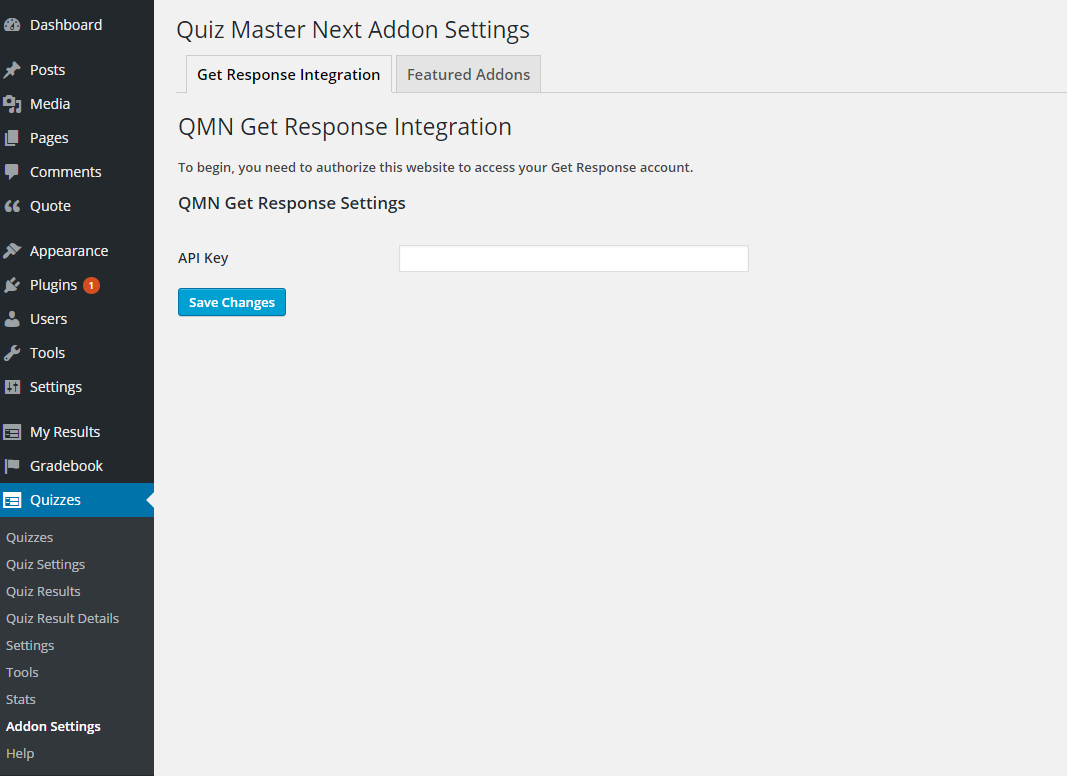
The Get Response add on allows Quiz Master Next to integrate with the Get Response mailing service.
Installation/Setup
Once you have purchased the addon, you will have access to download the addon. To install, simply upload the addon as a normal WordPress plugin. To do so, go to the Plugins page and click Add New. Then, click Upload. From there, upload the zip file that you downloaded to the plugin area on your site. Once the addon has uploaded, you should now have the plugin QMN Get Response listed in your list of plugins. Activate that plugin. Once activated, the plugin will add a new option called Get Response Integration into your Add On Settings on your Admin Panel when you hover over Quizzes. It will also add a new tab on your Edit screen called Get Response Integration.
Settings/Configure
Now we have to get your API key. Navigate to the Get Response website. Log into your account. Then go to Account Details by hovering over My Account on the far right side of the Get Response page. Once you are in the Account Details screen look down the menu of options on your screen until you see Get Response API. Click on that and the following screen will appear:
Copy that API key. Navigate back to your WordPress site and return to the page that is in the first image. Paste that long API key into the field in the first image and click Save Changes. If it was successfully saved you should get a message that says Success! Your site has been authorized successfully on that page.
Setting a Quiz with Get Response Integration
Once the API key has been entered successfully, it is now time to set a quiz to be integrated with Get Response. First go to the Edit Quiz screen like you would when you edit other settings for your Quiz. You should see an Get Response Integration tab appear towards the end of your tabs. Click on that tab and the following options will appear:
You will then need to go through the options and select the option you would like. You will need to set “Would you like to add Get Response integration to the quiz?” to Yes to turn on integration for this quiz. The List to add to is the list that is in your Get Response mailing list.
The option that says “Do you want the checkbox to appear at the end of the quiz?” will need to be set to Yes if you want the user to click something to be added to the mailing list. This would be useful if you want the user to have the option to join the mailing list or not. You also can set that box to No. In that case when the user clicks Submit they will be automatically added.
You will want to make sure if you want to use Get Response Integration that you ask for their email at the beginning or the end of the quiz so that Get Response doesn’t think a particular entry is spam and remove it.
The “Text for Checkbox” option is the text that will appear next to the checkbox if the checkbox is enabled.
Once all of those options are set you will have Get Response Integration fully configured!


